
Marina di Ragusa, Sicily
12/30/2013
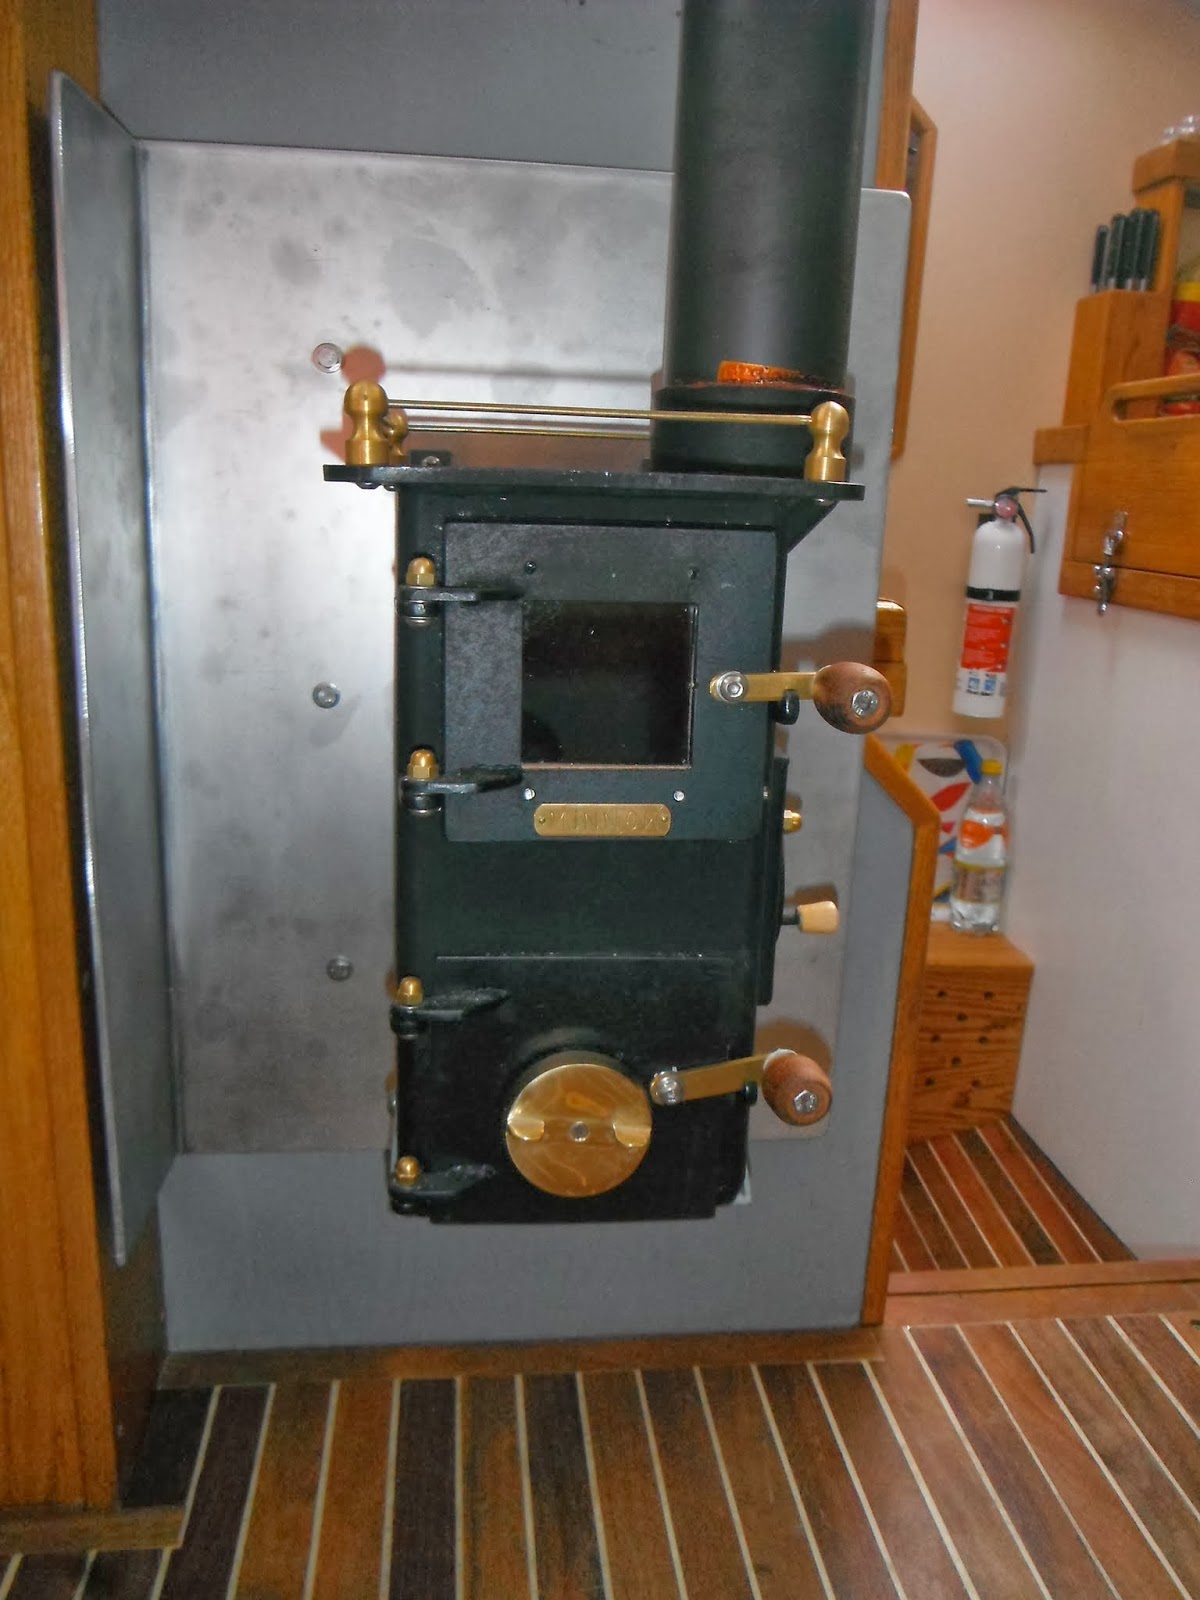
We just installed a new solid-fuel burning stove on H2OBO and we love it. Not only does it look great, but it provides a comfortable dry heat that makes the boat more of a home. We already have a high-output Webasto diesel furnace that can heat the boat and provide hot water, but diesel fuel is expensive and so is electricity. Solid fuel - in the form of wood, charcoal, coal, or compressed sawdust - is more economical. We find driftwood and deadwood everywhere; in fact, on a nearby beach here in Marina di Ragusa I have been sawing firewood from a washed up hard-wood tree that should provide enough fuel to heat the boat for a couple of weeks.
We bought the stove, named "Minnow", from an eBay seller called Roeburns-Emporium located in Stockton, UK, which turned out to be a bit of a problem. The stove is not CE certified, so according to EU rules it cannot be exported. Fortunately, our English friends, Tim and Katie were going back to visit and brought the stove back as baggage.
Baggage? The Minnow is quite small: 14 inches tall and 8 inches square; it weighs 17.5 kilograms. Steve, the stove maker, claims a 3 kilowatt output, which is sufficient to heat our 39 foot boat.
 |
| Maggie with the Minnow |
It uses an 80mm flue, which I was able to find at a local DIY store, including the 2 foot stainless steel section and flue cap for above the deck and the 4 foot painted steel section below. Steve also made the stainless steel deck plate, which is simply a 100mm collar with a welded plate that screws the collar to the deck. The flue needs to be inside the collar with an insulating air gap around it that is stuffed with fire proof rope, which also keeps the flue centered in the collar. A rain cowl fits around the flue on top of the collar and is sealed with high temperature silicone against rain. When heating isn't required, the external components are stowed away and the collar is sealed with a stainless steel cap.
 |
| Outside |
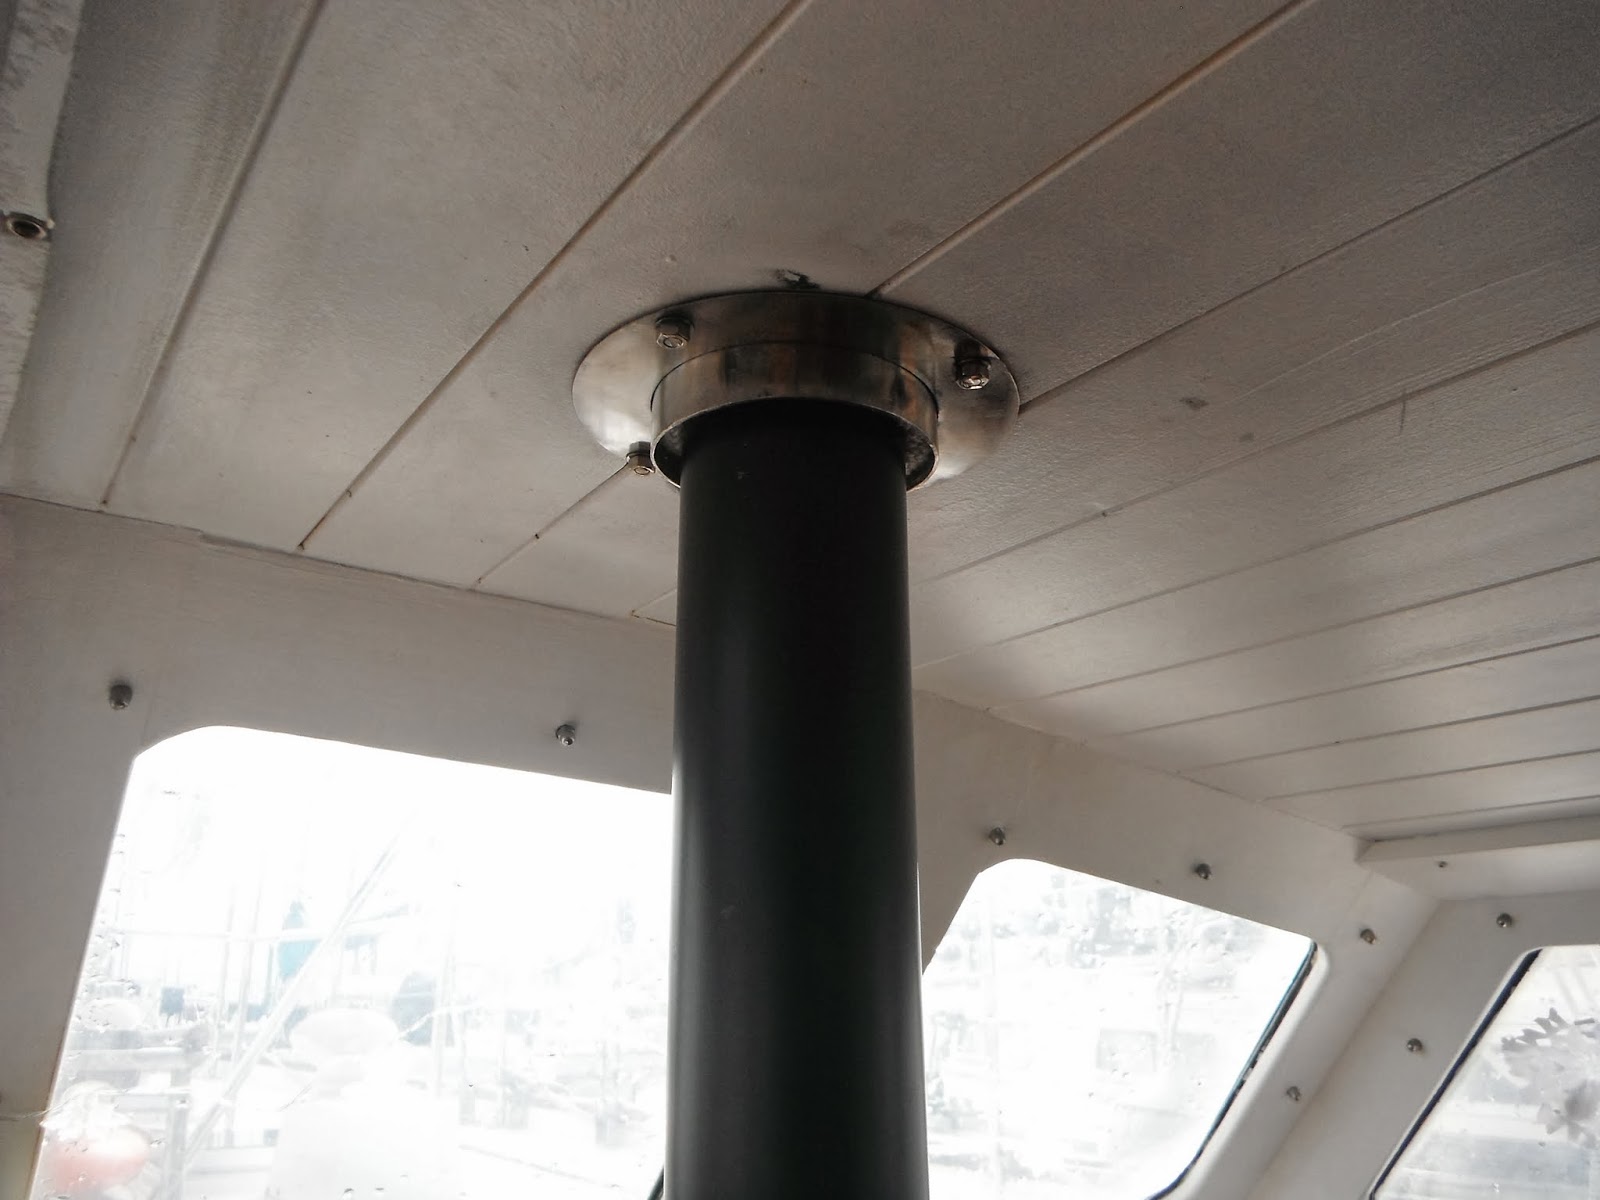 |
| Inside collar |
The last required component was a heat shield to protect the wooden bulkhead onto which the stove would be mounted. This I had made at a local machine shop out of 5mm thick aluminum plate along with 20mm long spacers that would be used behind the shield for a very reasonable price.

Some internet sources state that a stove should be 2 feet away from unprotected walls and 6 inches away from shielded ones. I have taken a less conservative approach since the stove will never be used unattended. Our heat shield is 2 feet tall and has a 90 degree bend to shield the oak steering pedestal in our pilothouse. The spacers keep the shield away from the bulkhead, and the stove itself is about four inches away from the shield on its own mounting brackets. The shield is bolted to the bulkhead and other holes were drilled and tapped so the stove brackets could be screwed to the shield. This way the stove can be removed for maintenance without having to remove the shield.
It only took one day to install, and here is how I did it. With the stove bolted to the shield, I propped it into its final position in order to determine the location of the flue and where the four inch hole for the deck collar.
 |
| The cut through the ceiling |
While the epoxy cured, I drilled and bolted the shield to the bulkhead taking care that the top of the inside steel section of the flue was flush with the top of the deck collar. This way the outside section of the flue, with the rain cowl in place, could simply be inserted into the flue below. The flue sections insert into one another with the female coupling incorporating a silicone gasket that holds the male end tightly.
Once the epoxy cured, I caulked the deck collar in place using high temperature silicone and bolted it down. I also sealed the flue into the stove with silicone, and stuffed the fire proof rope into the air gap between the deck collar and the flue.
After a little polishing of the deck collar above and below the deck with a buffing wheel, I lit a fire and we enjoyed watching it through the 2.5 inch square window on the stove door. The Minnow has become a showpiece on our boat and a wonderful addition to the equipment on it.
 |
| The Minnow |